


Pack Necklaces for Travel: 4 DIY Fixes and a Shake Test
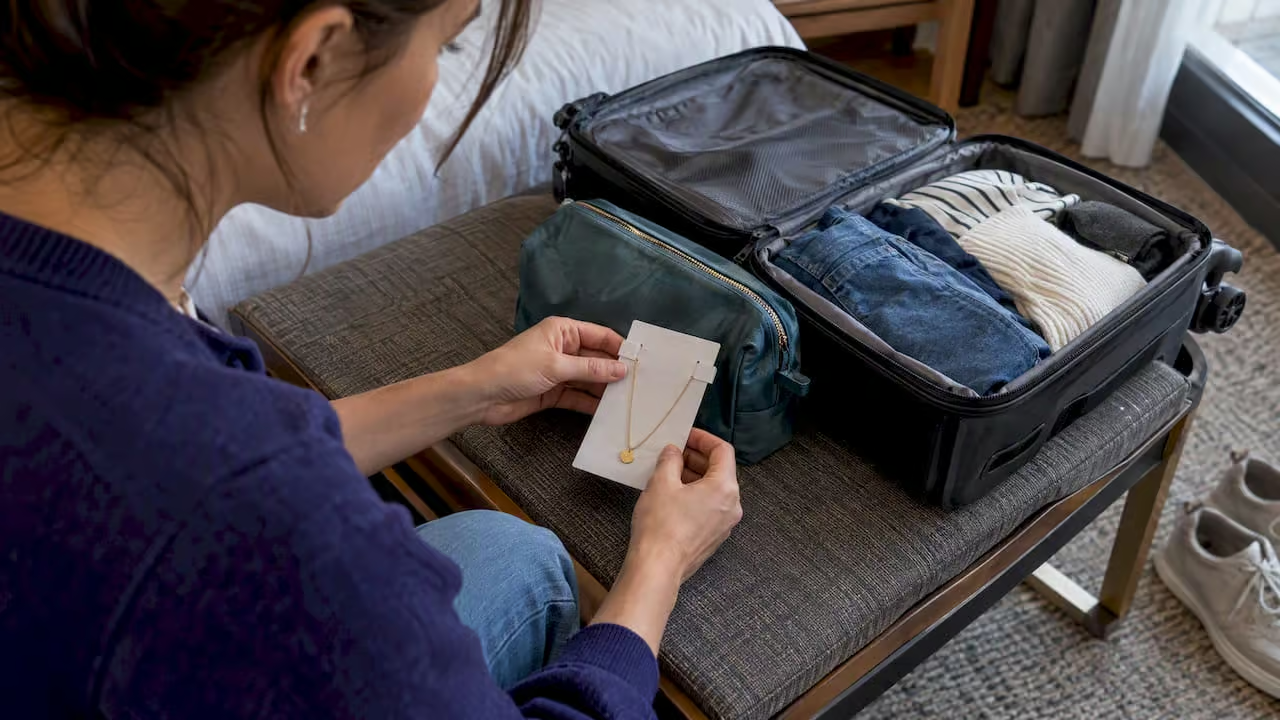
The simplest rule for packing necklaces is this: stop the chain from moving. Clasp each necklace shut, anchor it to something that holds it still, like a straw, a notched card, or a small pouch, and never let two necklaces share open space.
And before you zip your bag, run a quick shake test to confirm your setup actually holds under travel conditions.
The Edit
- Delicate cable or box chains need full isolation in a straw or sealed pouch, while heavier links often stay untangled with a card wrap.
- A jewelry roll suits light travel, a soft pouch fits one necklace, and a divided hard case protects many pieces or valuables from pressure.
- Pearls and embellished pieces should lie flat in soft, padded compartments; avoid coiling, pressure on settings, and contact with metal hardware.
- Run the test for 60 seconds before departure: close the organizer, turn it upside down, and shake gently three times; correct anything that shifts.
- TSA permits jewelry in checked bags, but recommends keeping valuables with you; travelers may request private screening at the checkpoint.
Why necklaces tangle and the one principle that stops it
A necklace tangles when its lower chain and pendant have room to swing, cross over another strand, and cinch tight every time your bag shifts.
Think of it like a kite string: the moment it has slack, it finds trouble. Control the top (where it’s anchored), the bottom (where the chain and pendant hang), and you’ve solved most of the problem.
That’s the whole idea behind the 60-second shake test: load your organizer, close it, flip it upside down, and shake a few times gently. If anything shifts, your necklace wasn’t anchored well enough, and you’ll know before you’re standing in a hotel room picking apart a knot.
Chain type changes your approach, too:
- Delicate chains (fine cable or box chains) tangle fastest and need full isolation, like a straw or a sealed pouch.
- Heavier link chains or chunky pendant necklaces tolerate more contact and often do fine with just a card wrap.
- Layered or multi-strand pieces need their own compartment entirely, since they tangle with themselves even without another necklace nearby.
Once you know which category your necklace falls into, picking a packing method takes seconds, with no guesswork.
Quick DIY fixes using things you already own
You don’t need special gear to pack necklaces well. A few household items solve most tangling problems on their own.
- Straw method: Thread a thin chain through a plastic drinking straw, fasten the clasp on both ends, and trim the straw to length. This works best for delicate cable chains and keeps the whole piece rigid and contained.
- Card wrap: Cut small notches into a business card or index card, loop the clasp end through one notch, and wrap the chain around the card until the pendant sits flat against it. This suits one or two necklaces you want quick access to.
- Press’n’Seal or plastic wrap: Lay the necklace flat, fasten the clasp, and press plastic wrap over it to hold everything in place. It’s a fast fix for short trips, though the adhesive can leave residue on textured metal over multiple uses.
- One pouch per necklace: Slip each wrapped or straw-threaded piece into its own small pouch so nothing touches another necklace in transit.
Pro Tip: Combine methods: wrap the necklace on a card first, then slide the card into its own pouch for double protection on longer trips.
Choosing between a jewelry roll, pouch, hanger, or hard case
Your necklace count and their value decide which organizer actually makes sense, not the other way around.
- Jewelry roll: Best for one-bag travelers. Rolls fold flat, keep individual anchors separate, and add almost no bulk.
- Soft pouch: The simplest option for a single necklace or a small matching set. Pair it with a card wrap if the chain is delicate.
- Hanging organizer: Useful at home where you can see everything at a glance, but the panels and clear pockets add bulk that doesn’t earn its keep in a suitcase.
- Hard or semi-hard case: Worth it when you’re carrying many pieces or higher-value items that need protection from pressure. The tradeoff is weight, so check that the case actually has separate hooks and lower pockets before assuming it will stop tangling. A case with one open compartment is just a fancier way to let chains collide.
Match the organizer to the trip, not the trip to whatever organizer you already own. A weekend with three necklaces doesn’t need a hard case, and a two-week trip with a full jewelry wardrobe shouldn’t rely on a single soft pouch.
Your pre-trip packing checklist and the 60-second test
Run through this before you zip any bag:
- Fasten the clasp on every necklace, even ones you think are too short to tangle.
- Give each necklace its own anchor, whether that’s a straw, a card notch, or a pouch slot.
- Tuck the lower chain and pendant into a pocket or fold so nothing hangs loose.
- Cushion the organizer with a soft layer of clothing to add padding without extra bulk.
- Keep jewelry in your carry-on rather than checked luggage.
Once packed, run the 60-second retention test: close your organizer, flip it upside down, and shake it gently three times. If anything slips or shifts, rework that spot before you head to the airport, not after you land.
On the security side, TSA allows jewelry in both carry-on and checked bags but recommends keeping valuables with you, and you can request private screening if you’d rather not have pieces examined in the open bin line.
Veronique’s take on packing artisan necklaces
I’ve spent years writing care guides for pearls and gemstones here at HerMJ, and the question I hear most isn’t “how do I style this” but “how do I keep it safe on the road.”
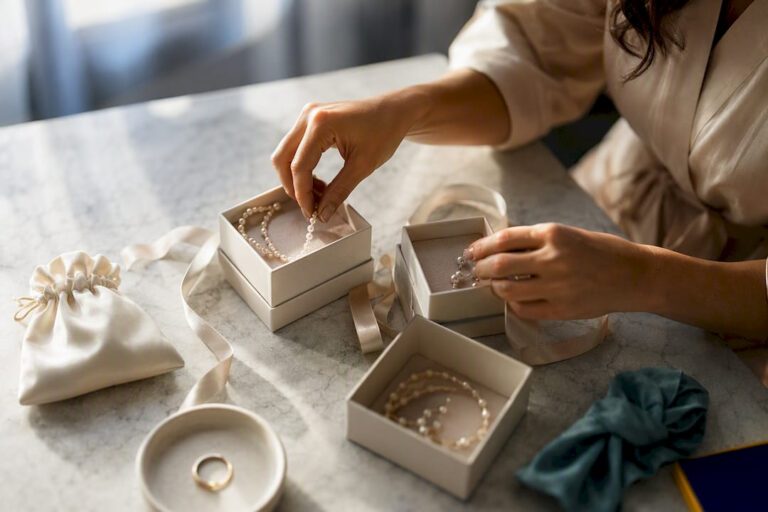
Pearls and soft-set gemstones need gentler handling than a plain metal chain: skip tight coils, avoid pressure on prong or bezel settings, and store them flat inside a soft pouch rather than cinched in a hard wrap.
A few habits make a real difference:
- Pad pearl necklaces with a soft cloth layer instead of letting them rest against metal clasps or hardware.
- Keep gemstone pendants face up and unstacked so nothing presses into a setting.
- When a necklace does tangle despite your best efforts, my guide to untangling a necklace safely walks through the gentlest fixes.
- For day-to-day storage between trips, my guide to storing pearls covers how to protect luster long after you’ve unpacked.
Organizing matching sets and complementary pieces for travel
Packing a matching set takes a bit more thought than packing one necklace, since the goal is to keep pieces paired, not only untangled.
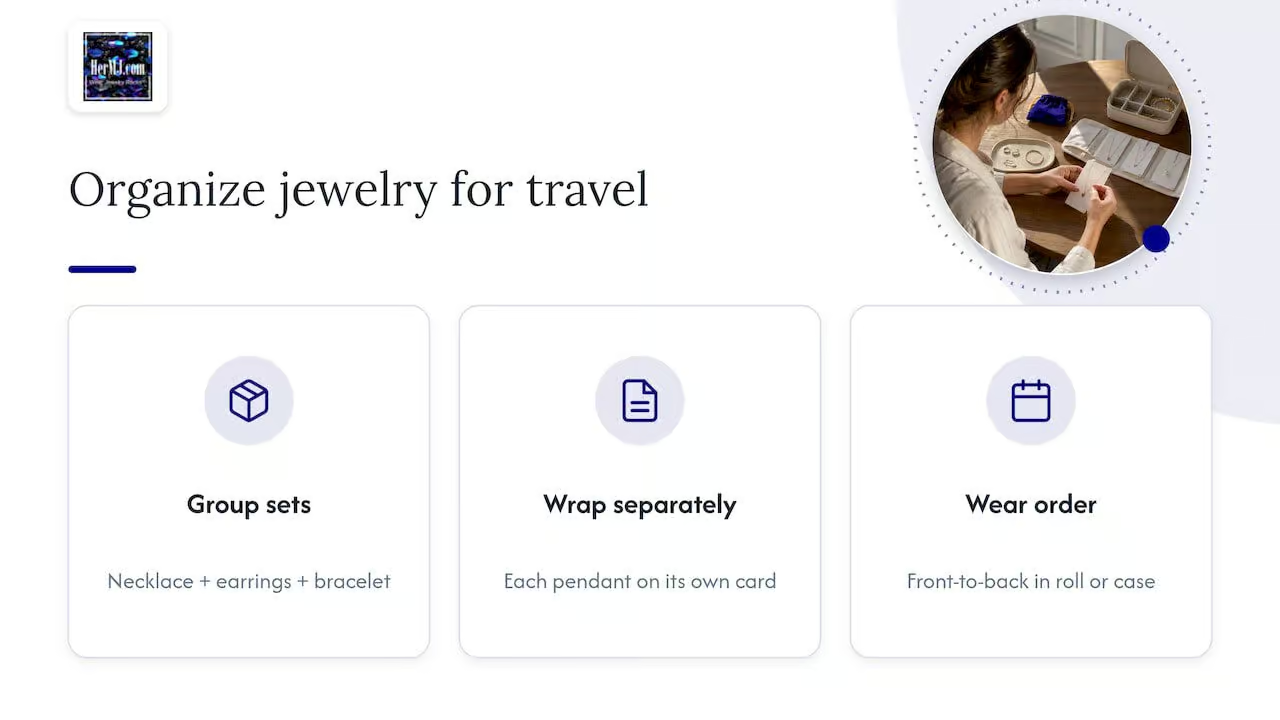
Group a necklace with its matching earrings and bracelet in a single labeled pouch or roll compartment rather than sorting by jewelry type. That way you grab one set for one outfit instead of hunting across your whole case.
If you’re bringing complementary pieces meant to layer, like two pendant necklaces of different lengths, wrap each on its own card first so you control the length and keep the shorter piece from sliding into the longer one’s clasp.
HerMJ’s guide to layering necklaces covers spacing those lengths properly, which also happens to be the easiest way to keep them visually distinct once you’re dressed and out the door.
For trips with multiple outfits planned, a simple trick helps: pack sets in the order you’ll wear them, front to back in your roll or case.
You’ll avoid digging through everything to find the right pairing on night three, and you’ll reduce how much each piece is handled, which matters more for delicate clasps and pearl strands than for sturdier metal pieces.
Handling delicate and heavily embellished necklaces with care
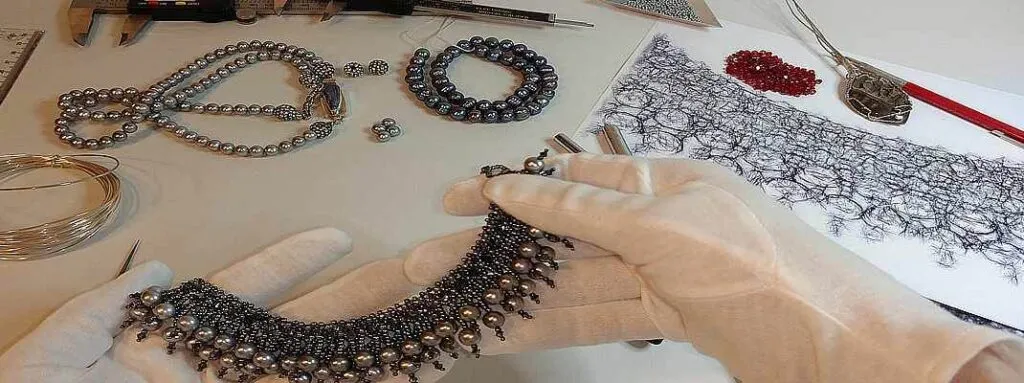
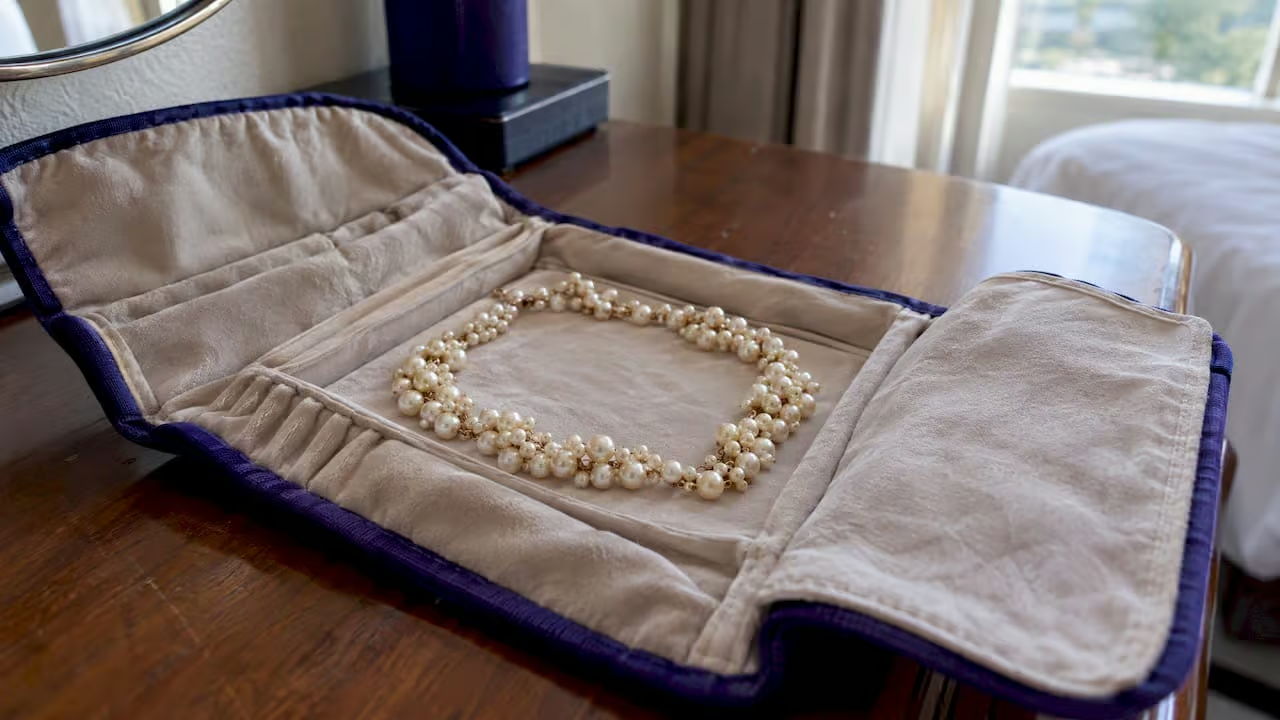
Delicate chains and heavily embellished necklaces, think fine filigree, pearl clusters, or pieces with multiple small stones, need more isolation than a standard chain, not just a bigger pouch.
Any contact with another piece of jewelry risks bent prongs, scratched settings, or snagged links, so give these pieces their own fully padded compartment every time.
Lay embellished necklaces flat rather than coiling them, since coiling puts repeated stress on settings and can loosen stones over multiple trips.
A small pouch with a soft lining, or a fold of fabric inside a jewelry roll’s dedicated slot, works better than a straw or card wrap for pieces with dimension or raised detail.
Avoid letting these pieces rest against zippers, buckles, or anything metal inside your bag, since the friction from daily handling adds up over a trip.
If a necklace has an unusually heavy pendant or an asymmetrical design, support the heavier end separately so the weight doesn’t pull against a delicate clasp for days at a time.
These small adjustments take seconds and prevent the kind of damage that doesn’t show up until you’re home and notice a loose stone or a stretched link.
Minimalist versus curated: which packing style fits your trip?
If you’re traveling light, pick a small neutral set that pairs with most of your outfits and pack it in a slim pouch or a single DIY wrap.
For longer trips or special events, a semi-hard case with individual compartments makes more sense, especially for higher-value pieces you’ll wear more than once.
Match your method to your itinerary, not the other way around.
— Veronique
HerMJ picks that travel well
A few of our pieces are especially suited to travel because they pack flat and hold up to a straw or card wrap without losing shape. Our Quartz Crystal Necklace has a simple pendant drop that wraps easily on a notched card, making it one of the lowest-fuss pieces to bring along.
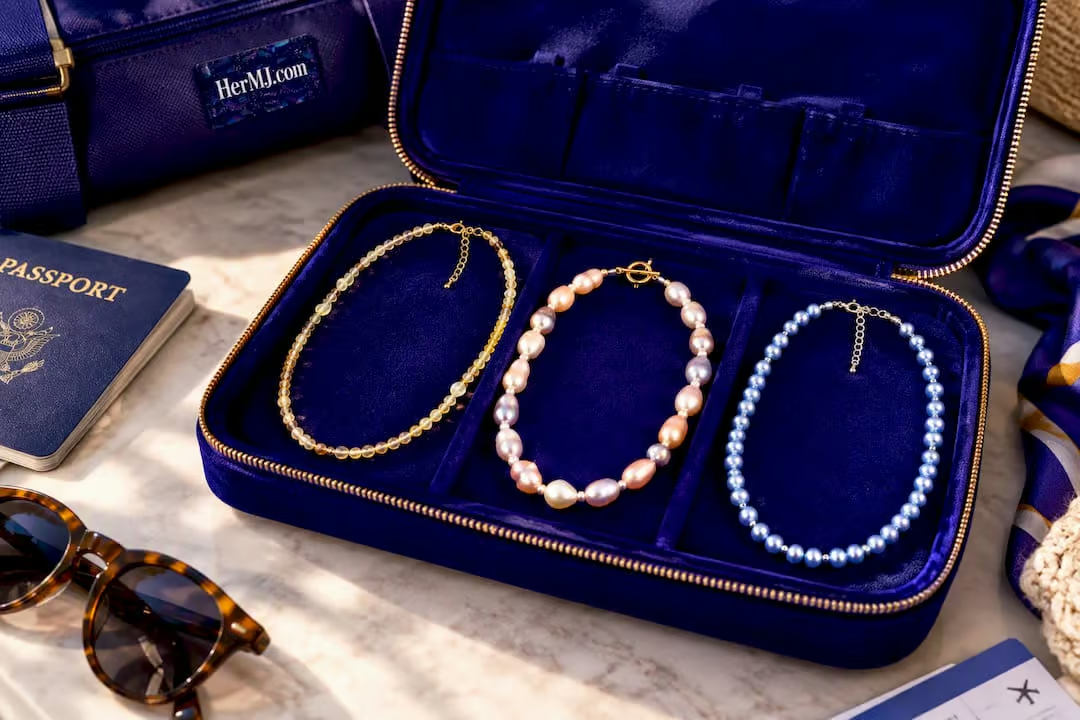
For pearl lovers, our Golden Swirl Gelato Collection Freshwater Pearl Necklace and Blueberry Gelato Collection Freshwater Pearl Necklace both deserve a soft pouch rather than a straw, since pearls need cushioning and no pressure on the knots between beads.
Lay them flat, avoid coiling, and they’ll travel just as beautifully as they look at home.
- Browse our full necklace collection to find pieces that match your travel style.
- Explore our full range of pearl and gemstone jewelry for everyday wear and special occasions.
- US orders ship free with no minimum, and international orders ship free for orders of $150 or more.
FAQ
How do you pack jewelry for a flight?
Fasten each clasp, anchor every necklace separately using a straw, card wrap, or small pouch, and keep your jewelry in your carry-on rather than checked luggage. The TSA permits jewelry in both carry-on and checked bags, but recommends keeping valuables with you through screening.
What is the 2:1:1 rule in jewelry?
The 2:1:1 rule refers to a common layering ratio for necklace lengths, spacing pieces about two inches apart for visual balance when wearing multiple necklaces together. It’s a styling guideline rather than a packing rule, though keeping that spacing in mind helps when you’re wrapping layered pieces individually for travel.
What stops necklaces from tangling?
Isolating each necklace so its chain can’t move or cross another piece prevents tangling, using methods like threading thin chains through a straw, wrapping them on a card, or sealing them individually. Fasten the clasp before packing, and run a quick shake test to confirm the setup holds.
Are necklaces allowed through TSA screening?
Yes, TSA allows necklaces and other jewelry in both carry-on and checked luggage. For valuable or sentimental pieces, keep them in your carry-on and request private screening if needed for more control during the process.
Sources
- Keep necklaces from tangling while traveling — SetupCarry
- Jewelry | Transportation Security Administration
Recommended
- 6 Steps to Untangle a Necklace Safely, and When Not To!
- Stagger 1–2 Inches to Layer Necklaces for Beginners With Pearls & Gems
- Avoid Losing Pearls: Match Pearl Necklace Clasps to Strand Weight