


Handcrafted Jewelry Making Techniques for DIY Creators
The Edit
- Choosing the right jewelry making technique influences design possibilities, material costs, and skill development.
- Beginners should start with stringing or wire wrapping for their accessibility, affordability, and creative potential.
If you’re picking up your first spool of wire or you’ve already filled a workbench with tools, choosing the right handcrafted jewelry making techniques shapes everything about your creative output. The method you use determines your design options, your material costs, and the kind of skill you’ll build over time. Some techniques need a little patience to get more precision.
Others give you fast, satisfying results soon after you pick up your first tool. This guide covers the full range of handmade jewelry methods, from stringing and wire wrapping to metalsmithing and wax carving, so you can find your path and start making pieces that actually reflect your vision.
Table of Contents
- Key takeaways
- 1. Stringing and bead-based handcrafted jewelry methods
- 2. Wire wrapping and wirework techniques
- 3. Metalsmithing and traditional hand fabrication techniques
- 4. Wax carving and lost-wax casting techniques
- 5. Kiln-formed glass, polymer clay, and surface treatments
- 6. Comparing techniques to find your best fit
- My honest take on building real jewelry crafting skills
- Discover HerMJ’s handcrafted artisan jewelry collection
- FAQ
Key takeaways
| Point | Details |
|---|---|
| Start with what excites you | Matching your technique to your aesthetic goals makes the learning curve feel worth it from the start. |
| Tools shape outcomes | Each method needs specific tools; investing wisely in the right ones prevents frustration and poor results. |
| Layer multiple techniques | Combining methods like wire wrapping with gem setting creates more expressive, original designs. |
| Wax shrinks during casting | Size wax models slightly larger to compensate for the 3–5% shrinkage before metal casting. |
| Surface treatments add depth | Patinas, texturing, and engraving transform a basic metal piece into something with real character. |
1. Stringing and bead-based handcrafted jewelry methods
Stringing is where most jewelry crafting skills begin, and for good reason. It’s accessible, forgiving, and endlessly creative. At its core, stringing means threading beads, gems, or pearls onto flexible wire, cord, or thread to create necklaces, bracelets, and anklets.
Your material choices here matter more than most beginners expect. Beading wire made from stainless steel strands coated in nylon holds weight reliably and resists kinking. Silk thread is the traditional choice for pearl stringing, with knots tied between each bead to protect against loss if the strand breaks. Nylon thread works well for lighter beads and decorative projects.
The essential tools for stringing are simple:
- Beading needles for working with thread
- Crimping pliers and crimp beads for securing wire ends
- Clasps and jump rings for closures
- Bead board for planning layouts before you string
Design thinking is what separates a beautiful strand from a forgettable one. Consider bead size gradients, color rhythms, and the interplay between smooth and textured surfaces. Mixing faceted glass with matte stone, for instance, creates visual tension that makes a piece feel intentional.
Pro Tip: Double your stringing wire and thread both ends through each bead for the first few inches at the clasp end. This adds strength exactly where stress is most concentrated.
The limitation of stringing is structural. Complex three-dimensional forms aren’t possible without moving into wirework or fabrication. But for wearable, everyday pieces that highlight the natural beauty of beads and handmade stone jewelry, stringing is an easy on-ramp onto your journey as a creator.
2. Wire wrapping and wirework techniques
Wire wrapping is one of the most expressive DIY jewelry techniques available to you without a torch or soldering setup. You shape wire into loops, coils, spirals, and cages that hold stones, connect components, and become decorative elements in their own right.
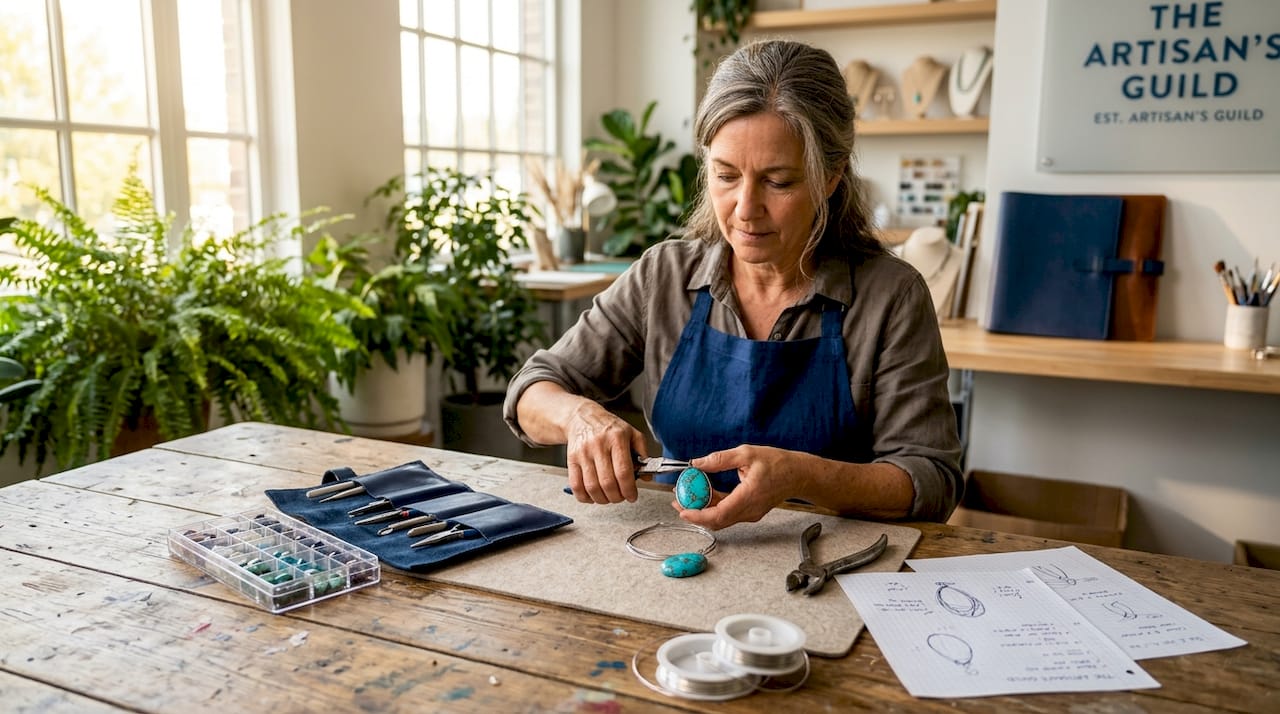
Wire gauge determines both workability and final appearance. A lower number means thicker wire. For structural elements like wrapped loops and frames, 20 to 22 gauge works well. For detailed wrapping and coiling over a base frame, 26 to 28 gauge gives you fine control. Sterling silver, copper, and gold-filled wire are the most popular choices among artisan jewelry makers.
The core techniques you’ll practice include:
- Simple and wrapped loops for connecting components cleanly
- Coiling wire tightly around a base wire for texture
- Cage wrapping to hold irregular cabochons without a bezel
- Spiral and weave patterns for decorative focal pieces
Fine silver wire fuses to itself when heated, needing no solder and leaving no oxidation or fire scale. This makes it a particularly appealing choice for clean chain making and sculptural wirework.
Finishing is where professional wire wrapping lives or dies. Cutting wrapped loops on the coil side reduces visible wire ends, and always orienting the flat side of your flush cutter toward the finished piece keeps edges smooth and safe against skin.
Pro Tip: When closing jump rings, use two pairs of flat-nose pliers and twist the ends past each other slightly before closing back. This creates tension that holds the seam far tighter than a straight push together.
Wire wrapping shines for pendants, earrings, and connectors. It pairs beautifully with the kind of statement gemstone pieces you’d find in necklaces, where stone shape and wire work together as a unified composition.
3. Metalsmithing and traditional hand fabrication techniques
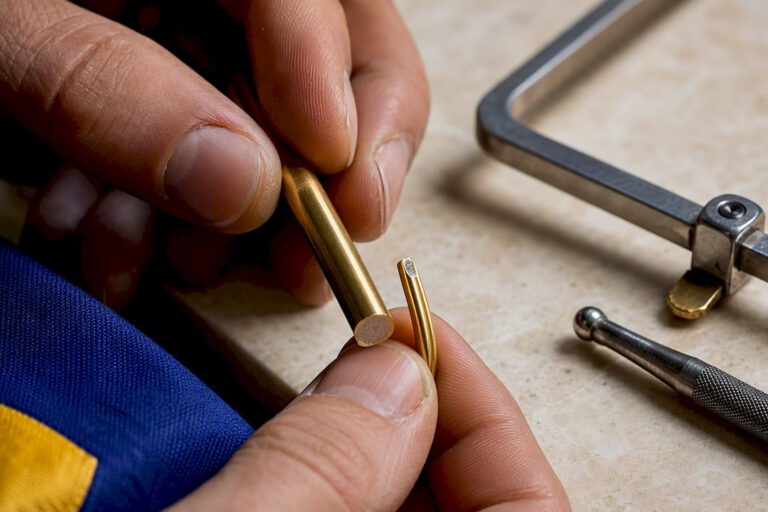
Metalsmithing is where handcrafted jewelry making steps into genuine craft tradition. This is the work of shaping raw metal sheet and wire into finished pieces through sawing, filing, hammering, and soldering. It demands more tools and practice, but the design freedom it gives you is unlike anything else.
The basic hand fabrication sequence runs like this:
- Sketch and plan your design on paper, then transfer measurements to a metal sheet
- Saw out shapes using a jeweler’s saw with the correct blade gauge for the metal thickness
- File edges smooth and true with needle files
- Shape pieces using hammers, mandrels, and dapping blocks
- Join components with solder, using flux to prevent oxidation during heating
- Set gemstones using bezel, prong, or flush setting techniques
- Finish by sanding through progressively finer grits, then polishing
Bezel setting, one of the most reliable gem-setting techniques for beginners in metalsmithing, requires a caliper gauge to measure bezel depth and tapping bezel edges at 45 degrees for proper stone security. Getting this detail right is the difference between a stone such as the moon and stars pendant that stays put for decades and one that loosens after a few wears.
Metal choice shapes both aesthetics and workability. Fine silver is softer and a bit more forgiving for beginners. Sterling silver is more durable for everyday wear. Gold and gold-filled materials bring their own working properties that reward practice. For a deeper look at hand-fabricated jewelry craftsmanship, the investment in skills pays off with pieces no casting process can replicate.
The traditional Thewa craft from Rajasthan demonstrates just how deep this craftsmanship can go. A single 1.5 cm gold-and-glass design requires nearly 72 hours of meticulous carving and fusing, showing that hand fabrication at its peak is closer to sculpture than to jewelry.
Pro Tip: A butane micro torch is a practical starting point for small-scale soldering. It reaches the temperatures needed for silver solder without the setup cost of a full studio torch system.
4. Wax carving and lost-wax casting techniques
Wax carving is one of the oldest jewelry making methods still in active use, and it remains one of the most satisfying for makers who think in three dimensions. You carve a design in jeweler’s wax, invest it in plaster-like material, burn out the wax in a kiln, then pour molten metal into the cavity left behind. The result is a metal piece with exactly the form you sculpted.
The wax itself comes in different hardnesses suited to different purposes:
- Hard blue or purple wax for fine detail carving and ring shanks
- Softer green wax for organic flowing shapes
- Wax wire and sheet for additive construction techniques
- Pre-formed ring tubes for working with wax on a mandrel
Wax models shrink 3 to 5% during the casting process, so you’ll want to size rings and fitted elements slightly larger than your target dimensions before sending them to a caster. This is a detail beginners often learn the hard way on their first project.
| Wax Type | Best For | Carving Feel |
|---|---|---|
| Hard blue/purple wax | Fine detail, ring shanks | Firm, holds crisp edges |
| Soft green wax | Organic forms, curves | Flexible, slightly sticky |
| Wax wire | Additive construction | Moldable, easy to attach |
| Wax sheet | Flat forms, wraps | Thin and workable |
Lost-wax casting also opens the door to techniques like granulation and cast-in-place stone setting, where stones are embedded directly in the wax and remain in place during casting. This works with certain heat-resistant stones and creates an organic, embedded look that’s nearly impossible to achieve by hand setting.
Pro Tip: If you’re new to wax carving, start with a pre-formed wax ring tube. The basic geometry is already there, so you focus entirely on carving your design rather than building the structure from scratch.
5. Kiln-formed glass, polymer clay, and surface treatments
Not every handcrafted jewelry technique involves metal. Some of the most visually striking contemporary pieces come from working with kiln-formed glass, polymer clay, and intentional surface treatments applied after forming.
Kiln-formed or fused glass involves layering pieces of compatible glass, then firing them in a kiln until they melt together. The resulting cabochons carry color depth and translucency that no gemstone or resin can fully replicate. Fused glass is typically paired with metalsmithing for settings, since the material itself needs a frame to become wearable.
Polymer clay behaves quite differently. It’s moldable at room temperature, cures hard in a standard oven, and accepts texture stamps, cutters, and hand carving. Color mixing in polymer clay follows paint-like rules, which makes it intuitive for makers with a background in painting or illustration. The finished material is lightweight and takes paint, powders, and varnish well.
Surface treatments on metal open another creative dimension entirely:
- Liver of sulfur patina darkens silver to a dramatic antique finish
- Patina applied before or after stone setting depends on the stone’s durability
- Texturing with hammers, punches, or rolling mill plates creates surface relief
- Engraving adds fine line detail and personalization
Pro Tip: Try combining polymer clay inlay work with a simple silver bezel frame. The contrast between the matte, organic texture of the clay and the bright polish of silver creates a finished look that feels genuinely one-of-a-kind.
6. Comparing techniques to find your best fit
Choosing between handcrafted jewelry making techniques is easier when you look at them side by side across the dimensions that actually affect your work.
| Technique | Skill Level | Startup Cost | Design Flexibility | Best For |
|---|---|---|---|---|
| Stringing | Beginner | Low | Moderate | Beaded necklaces, pearl strands |
| Wire wrapping | Beginner to intermediate | Low to medium | High | Pendants, earrings, gem wraps |
| Metalsmithing | Intermediate to advanced | High | Very high | All fine jewelry forms |
| Wax carving and casting | Intermediate | Medium | Very high | Complex 3D forms, rings |
| Polymer clay | Beginner | Low | High | Colorful, lightweight pieces |
| Kiln-formed glass | Intermediate | High | High | Statement cabochons, focal pieces |
Start with the column that matters most to your situation right now. If budget is the main constraint, stringing and wire wrapping give you the most creative return per dollar spent. If design ambition is your driver, metalsmithing and wax carving reward every hour of practice with expanded possibilities.
Modern consumers expect jewelry personalization as a standard offering, which means artisans who can execute multiple techniques hold a real advantage. The makers who stand out are rarely those who mastered only one method. They’re the ones who know when to reach for wire and when to reach for a saw.
The unique benefits of handmade jewelry trace directly back to your technique of choice. A wire-wrapped stone carries visible human touch in every turn of wire. A hand-fabricated bezel setting delivers precision shaped by hand on a bench, qualities that simply don’t exist in mass-produced pieces, and that’s exactly what makes them worth pursuing.
My take on building real jewelry crafting skills
I’ve watched a lot of makers approach handcrafted jewelry techniques the same way: pick one method, master it completely, then maybe branch out later. I used to believe that was the right path. My experience has shown me it’s actually a slower route to creative satisfaction.
What I’ve found works better is starting with two complementary techniques at once. Wire wrapping alongside stringing, for instance, lets you make complete pieces from day one while building the hand skills that metalsmithing will later reward. The crossover between methods accelerates your overall development more than a single-track focus does.
I’m also candid with people about the reality of their tool investments. You don’t need a full studio to start metalsmithing. A butane torch, a steel block, basic files, and entry-level pliers will take you surprisingly far. Spending on every tool before you know whether you love the work is the fastest way to an expensive hobby you abandon.
My suggested technique is wire wrapping, not because it’s simpler, but because it keeps the maker’s hand visible in a way that feels authentic. Every coil and wrap carries the impression of a decision made in real time. That kind of presence in a piece that shows the signature of artisan craftsmanship.
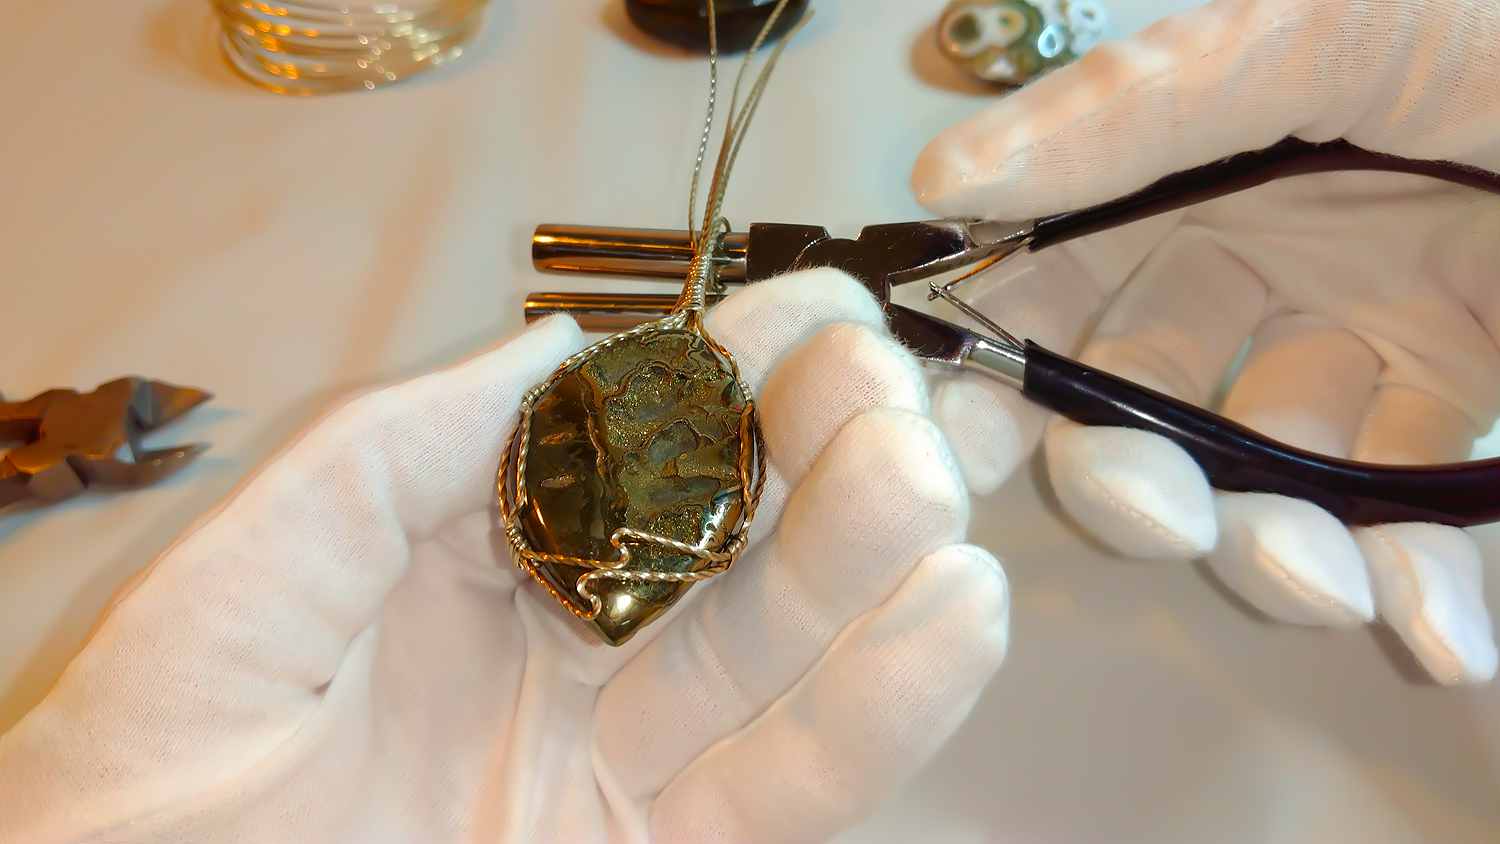
Embrace imperfection in your early work. A slightly uneven coil or a bezel that took three attempts to close correctly is not a failure. It’s the physical record of a skill being built. The makers I respect most are the ones who kept those early pieces and can still point to exactly what they learned making them.
— Veronique
Discover HerMJ’s handcrafted artisan jewelry collection
If these techniques have sparked your inspiration, HerMJ is a natural next step for seeing what skilled artisan hands can create with genuine pearls and gemstones. Every piece in the collection reflects the kind of deliberate craftsmanship this guide covers, from careful gem selection to hand-finished settings that hold luster for as long as you own each handmade piece.
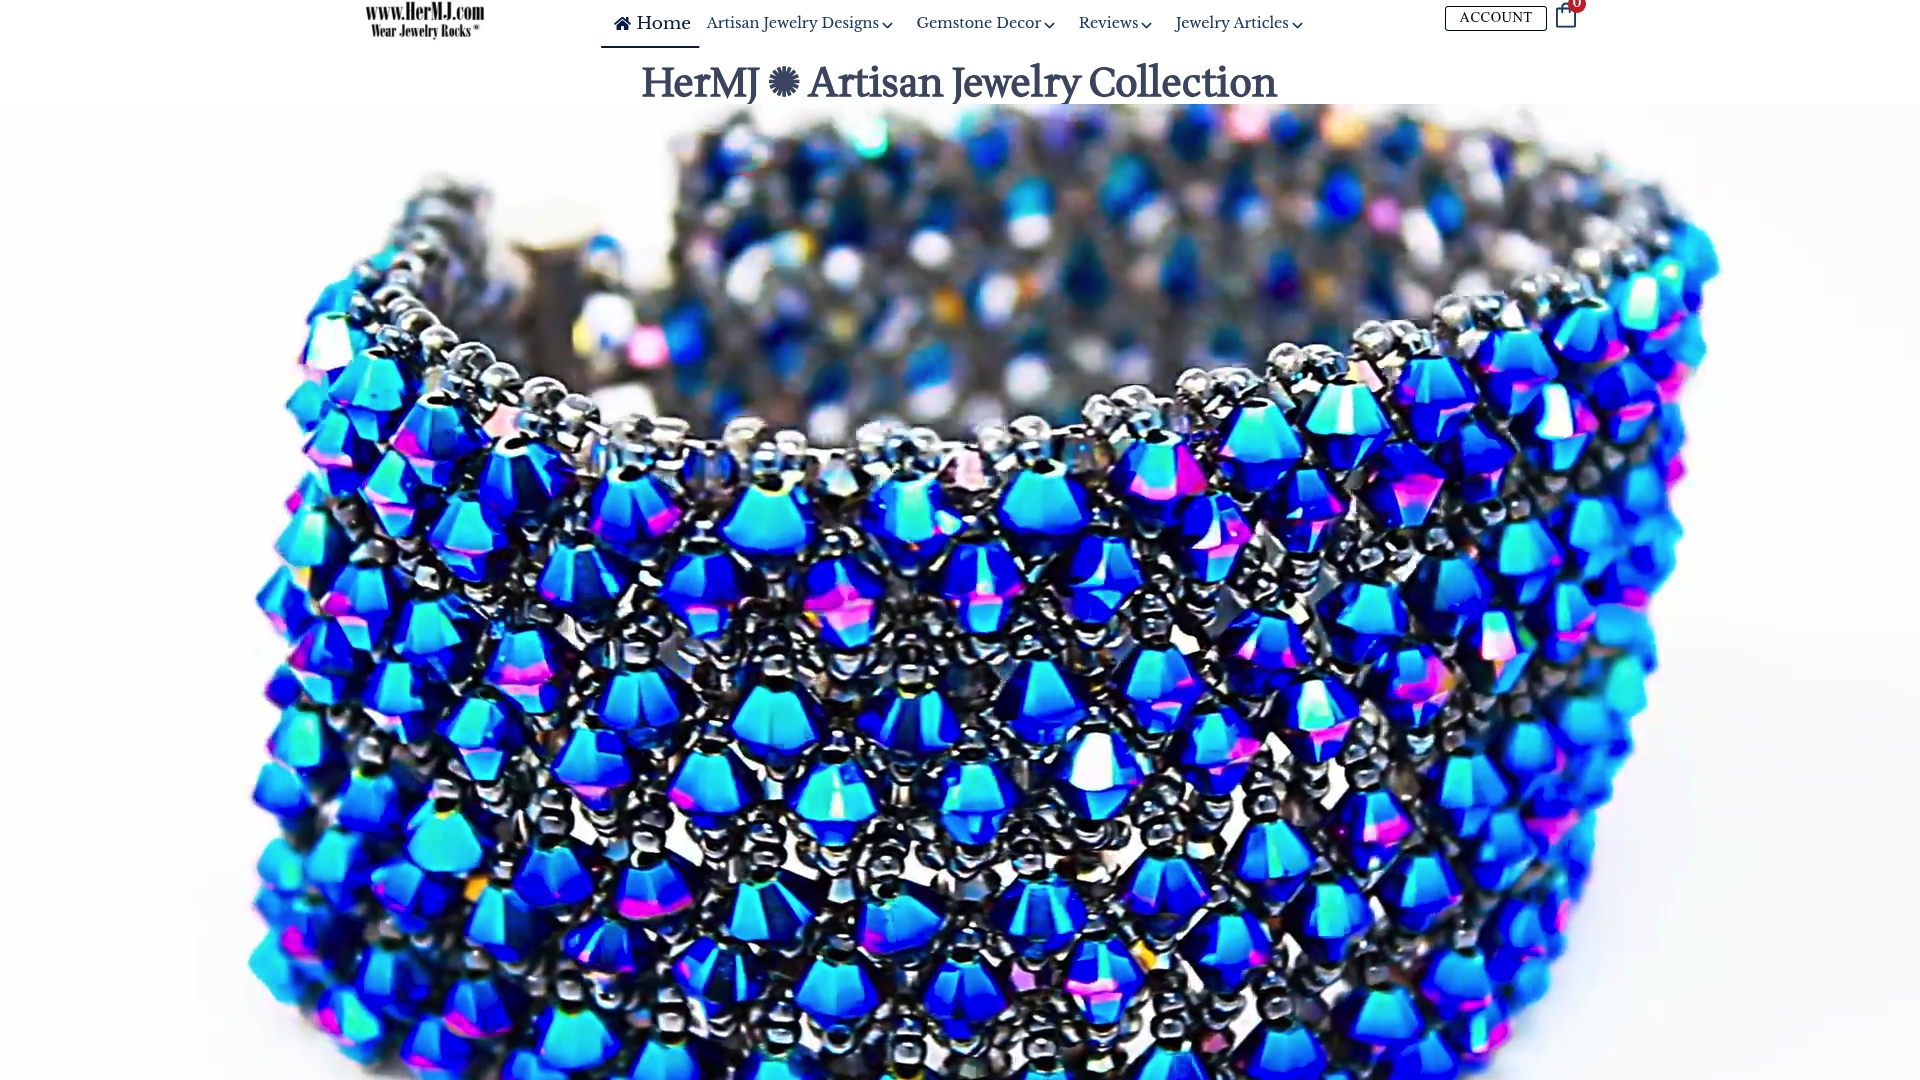
If you’re looking for a meaningful graduation gift with real artisan character, or you want to explore the full range of handcrafted styles available this season, HerMJ offers genuine quality at prices that respect your budget. You can also explore handcrafted jewelry deals and find pieces that show exactly what these techniques look like in the hands of experienced makers. Real craftsmanship, accessible pricing, and a collection that grows with your own taste.
FAQ
What is the easiest handcrafted jewelry technique for beginners?
Stringing and basic wire wrapping are the most approachable starting points, requiring minimal tools and delivering wearable results quickly with low material costs.
How do gem setting techniques differ across jewelry methods?
Bezel setting in metalsmithing secures stones with a metal wall hammered at 45 degrees, while wire wrapping uses cage or prong-style wire frames, and wax carving allows cast-in-place stone setting for an embedded look.
Does wax carving require a casting machine?
You carve the wax model yourself, but the actual casting is typically sent to a professional casting service, making it accessible without owning expensive equipment.
Can you combine multiple handcrafted jewelry techniques into a single piece?
Yes, and combining methods often produces the strongest results. Wire wrapping can frame a fused glass cab set in a fabricated silver bezel, for example, bringing texture, color, and structure together in one piece.
What is a patina, and how is it used in jewelry making?
A patina is a surface treatment, often liver of sulfur on silver, that darkens metal to create an antique or contrasting finish. Whether you apply it before or after stone setting depends on how heat- and chemical-resistant the stone is.
Recommended
- What Is Hand Fabricated Jewelry? Craftsmanship Explained
- What Is Hand Stamped Jewelry: A Beginner’s Guide