


Tools Artisans Use for Pearl Jewelry: A Maker’s Guide
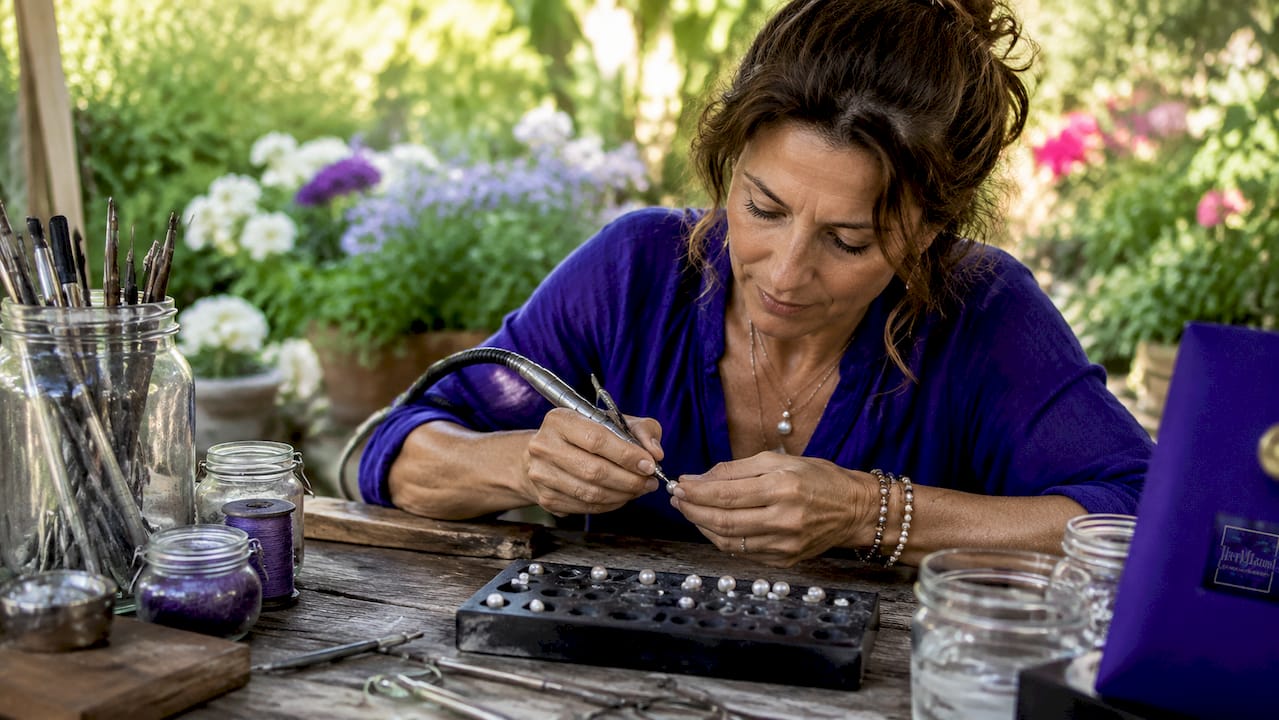
The Edit
- Pearl jewelry tools are specialized for drilling, stringing, and finishing without damaging delicate nacre. Proper tools ensure a polished, professional result and protect the pearl’s luster and longevity. Skilled artisans rely on purpose-built vises, diamond burs, knotting tools, and gentle polishing supplies for high-quality craftsmanship.
Pearl jewelry-making tools are specialized instruments designed to drill, string, and finish pearls without damaging their delicate nacre.
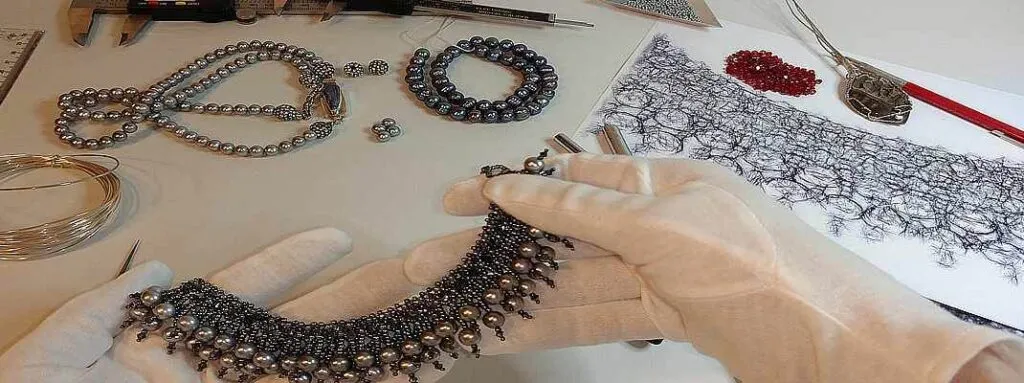
Unlike standard gemstones, pearls are organic and soft, which means every tool choice directly affects the final piece’s luster and longevity. The core categories artisans rely on are drilling equipment, stringing and knotting tools, and finishing supplies.
Getting these right separates a polished, professional result from a cracked or scratched pearl. If you’re building your first pearl necklace or scaling up production, understanding the tools artisans use for pearl jewelry gives you a real edge in craftsmanship.
What are the essential tools artisans use for pearl jewelry?
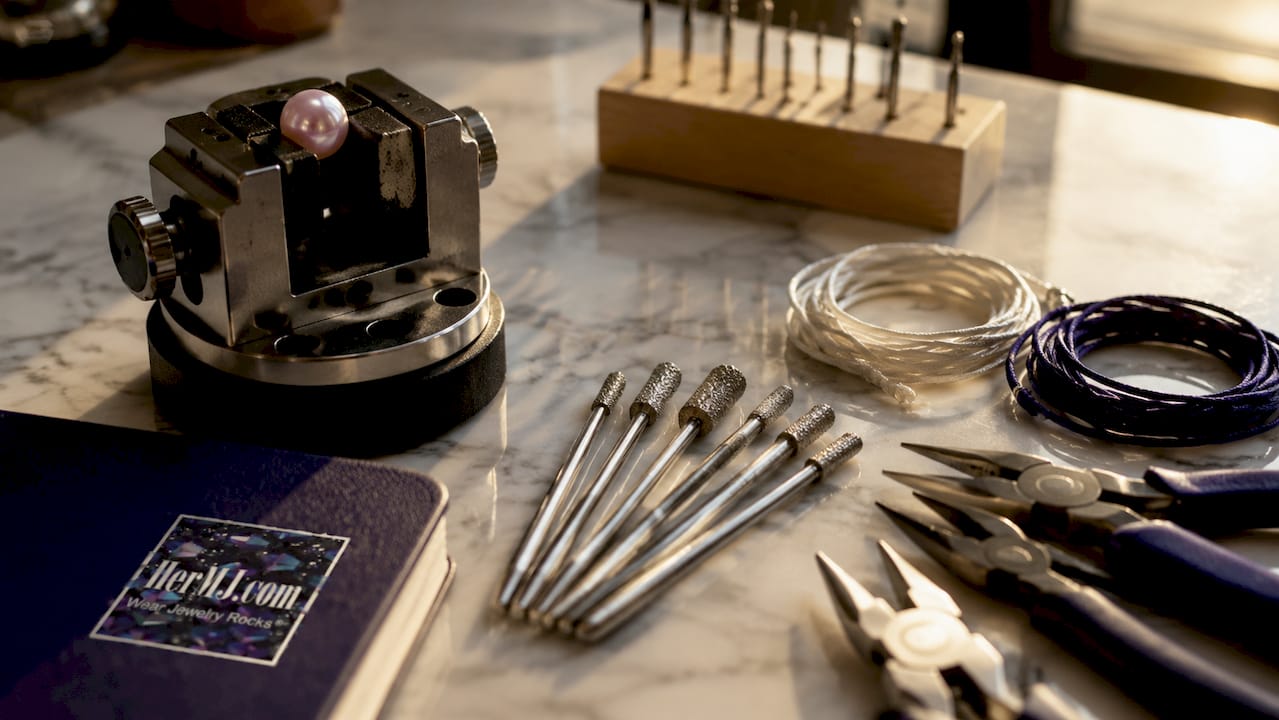
The tools for pearl crafting fall into three clear families: drilling tools, stringing tools, and finishing tools. Each family serves a distinct phase of the making process.
Skipping or substituting tools within any phase risks permanent damage to the pearl’s surface or structure. Artisans who invest in purpose-built pearl jewelry-making tools consistently produce cleaner holes, tighter knots, and more durable settings.
The drilling family includes pearl drilling vises, diamond burs, and flex-shaft or rotary handpieces.
The stringing family includes bead-knotting tools, silk or nylon cord, chain-nose pliers, and cutters. The finishing family relies on sanding sticks, polishing cloths, micro brushes, and epoxy.
Each tool earns its place because pearls are softer than most gemstones and respond poorly to the rough handling that harder stones tolerate.
Pearl drilling vises: holding pearls without harm
A pearl drilling vise is the single most important piece of handmade pearl jewelry equipment you can own. Standard bench vises risk surface damage to pearls, while specialized vises with rubber-lined or padded grips keep the pearl stable and scratch-free. That difference matters enormously when you’re working with a pearl that took years to form.
Purpose-built pearl drilling vises are designed with 13 precision cavities that accommodate pearl sizes from 2mm to 10mm. Each cavity cradles the pearl’s curved surface so it can’t roll or shift during drilling. A pearl that moves mid-drill almost always ends up with an off-center hole or a cracked surface.
The padded cups in these vises do more than prevent scratches. They distribute clamping pressure evenly across the pearl’s surface, which reduces the risk of stress fractures. If you’re working with baroque or irregularly shaped pearls, look for vises with deeper, softer cups that conform to the pearl’s unique contours.
Pro Tip: Never use a metal bench vise on a pearl, even with a cloth buffer. The clamping force concentrates on too small an area. A dedicated pearl vise with soft rubber cups is the only safe option.
Diamond burs: the artisan’s precision drilling tool
Diamond burs are the standard drilling tool for pearl jewelry, and they do far more than make holes. Diamond burs with grits from 150 to 600 enable drilling, carving, and polishing, allowing artisans to create intricate bead customization and large-hole designs. That range of functions makes them one of the most versatile tools in any pearl maker’s kit.
Coarser grits (150–220) cut quickly and work well for initial hole drilling. Finer grits (400–600) refine the hole’s interior and smooth any rough edges left by the coarser pass. Using a progression of grits produces a cleaner channel that won’t fray silk cord over time.
Heat buildup during drilling dulls pearls and damages nacre. Cooling with water and clearing pearl dust with a soft brush protect both the pearl and the bur’s diamond coating. Artisans who skip cooling find their burs wear out faster and their pearls lose their characteristic glow.
Pro Tip: Drill in short bursts of two to three seconds, then lift the bur and flush the hole with water. This technique prevents heat from building up and significantly extends the life of your diamond burs.
Stringing and knotting tools for professional results
Stringing is where pearl necklace-making tools earn their keep. The Beadsmith EZ Knotter is the most widely used bead-knotting tool among artisans because it produces consistent, tight knots between each pearl without requiring years of hand-knotting practice.
Consistent knots serve two purposes: they protect pearls from rubbing against each other, and they prevent the entire strand from unraveling if the cord breaks.
Silk cord remains the traditional choice for pearl stringing because it’s soft, has a slight stretch that cushions pearls, and knots beautifully.
Nylon cord is a practical alternative for artisans who need greater durability or work in humid environments where silk can weaken. The cord diameter should closely match the pearl’s drill hole. A cord that’s too thin allows pearls to slide and bunch; one that’s too thick won’t pass through the hole at all.
Beyond knotting tools and cord, you’ll need a core set of hand tools. Bent nose, chain nose, and round nose pliers, along with flush cutters and fine-tipped tweezers, handle the wire work, clasp attachment, and fine adjustments that complete a strand. These tools for creating pearl accessories are small investments with an outsized impact on the finished piece.
Pro Tip: When using the EZ Knotter, pull the cord firmly but not aggressively after each knot. Overpulling distorts the knot shape and can weaken the cord at the stress point.
Finishing and polishing tools that protect the pearl luster
Finishing is the phase most artisans underestimate, and it’s where a good piece becomes a great one. Sanding sticks, polishing cloths, and micro brushes smooth rough edges on settings and remove any residue left from drilling or adhesive work. Used gently, they bring out the pearl’s natural glow rather than dulling it.
Micro brushes are particularly useful for applying two-part epoxy when setting pearls onto posts or into cup settings. The brush gives you precise control over how much adhesive contacts the pearl’s surface.
Too much epoxy can seep onto the nacre and create a cloudy halo around the setting that’s nearly impossible to remove cleanly.
Ball burs, which are small, rounded rotary tools, create custom-shaped setting seats in metal. A seat that matches the pearl’s curvature holds the pearl more securely than a flat base and reduces the rocking that causes adhesive failure over time. This small detail separates artisan-quality work from mass-produced pieces.
Pro Tip: Always test your polishing cloth on the back of a pearl before working on the face. Some materials contain mild abrasives that can scratch softer pearl surfaces. A clean, dry chamois cloth is the safest finishing option for most pearls.
Manual hand tools vs. automated stringing machines
The choice between hand tools and automated equipment is one of the most consequential decisions an artisan makes. Automated pearl stringing machines can string hundreds to thousands of beads per hour, which makes them practical for production-scale work. That speed advantage is real, but it comes with trade-offs that matter deeply to artisans focused on one-of-a-kind pieces.
| Feature | Manual hand tools | Automated stringing machines |
|---|---|---|
| Speed | Low to moderate | Very high |
| Cost | Low | High |
| Precision | High (artisan-controlled) | High (machine-controlled) |
| Versatility | Very high | Moderate |
| Learning curve | Moderate | Steep |
| Best for | Custom, small-batch work | Large production runs |
Manual tools give you tactile feedback that no machine replicates. You feel the tension in the cord, notice when a knot isn’t seating correctly, and adjust in real time.
That sensitivity is why scaling production benefits from automated equipment while custom artisan work almost always stays in skilled hands.
For most independent artisans, the right answer is a hybrid approach. Hand tools handle custom commissions and experimental designs. Automated equipment, if budget allows, handles repeat orders or high-volume seasonal production. Starting with quality hand tools and adding automation later is the lower-risk path for anyone building a pearl jewelry practice.
Caring for your pearl jewelry tools
Tools that work on pearls need the same thoughtful care you give the pearls themselves. Diamond burs clog with pearl dust and lose cutting efficiency quickly if not cleaned after each session. A soft brass brush runs gently across the bur’s surface, clearing debris without damaging the diamond coating.
Pliers and cutters should be wiped clean and lightly oiled at the joint after each use. Silk cord and nylon cord should be stored away from direct sunlight, which degrades both materials over time. Polishing cloths pick up metal particles and pearl dust that can scratch future pieces if the cloth isn’t replaced regularly.
Proper tool storage also matters. Keeping diamond burs in a dedicated case prevents tip damage from contact with other metal tools. A well-maintained set of artisan jewelry tools lasts for years and produces consistently better results than worn or neglected equipment.
Key takeaways
The best tools for pearl jewelry combine specialized drilling equipment, purpose-built stringing tools, and gentle finishing supplies to protect nacre and produce professional results.
| Point | Details |
|---|---|
| Use a pearl drilling vise | Padded, multi-cavity vises prevent scratching and securely hold pearls from 2mm to 10mm. |
| Choose the right diamond bur grit | Use 150–220 grit to open holes and 400–600 grit to refine and smooth the channel. |
| Cool during drilling | Drill in short bursts and flush with water to protect the nacre and extend the bur’s life. |
| Match cord to hole size | The silk or nylon cord diameter should fit the drill hole snugly to prevent pearl movement. |
| Balance hand tools and automation | Use hand tools for custom work and automated machines for high-volume production runs. |
What I’ve learned from years of working with pearl tools
I’ve watched artisans spend generously on pearls and then try to save money on the tools. That trade-off almost never works out. A $4 pearl drilled with the wrong bur or held in a metal vise can end up cracked, scratched, or off-center in minutes. The pearl is lost, and so is the time spent sourcing it.
The tools I return to most often are a quality pearl drilling vise, a set of diamond burs in at least three grits, and the EZ Knotter for stringing. Those three investments cover the majority of pearl jewelry work at a professional level. Everything else builds on that foundation.
What surprises most people is how much the finishing phase matters. Artisans who rush through polishing and setting often produce pieces that look slightly unfinished, even when the drilling and stringing are perfect.
Taking an extra ten minutes with a polishing cloth and a well-fitted setting seat changes how the finished piece reads entirely. You can see the difference, and so can your customers.
My advice is to learn handcrafted jewelry techniques thoroughly before adding automated tools to your workflow. Automation amplifies what you already know. If your hand-knotting is inconsistent, an automated machine won’t fix that. It will just produce inconsistent knots faster. Build the hand skills first, then scale.
— Veronique
HerMJ’s pearl jewelry: where artisan tools meet finished elegance
Seeing the tools behind pearl jewelry makes the finished pieces even more meaningful. Every strand, knot, and setting represents hours of careful work with specialized equipment.
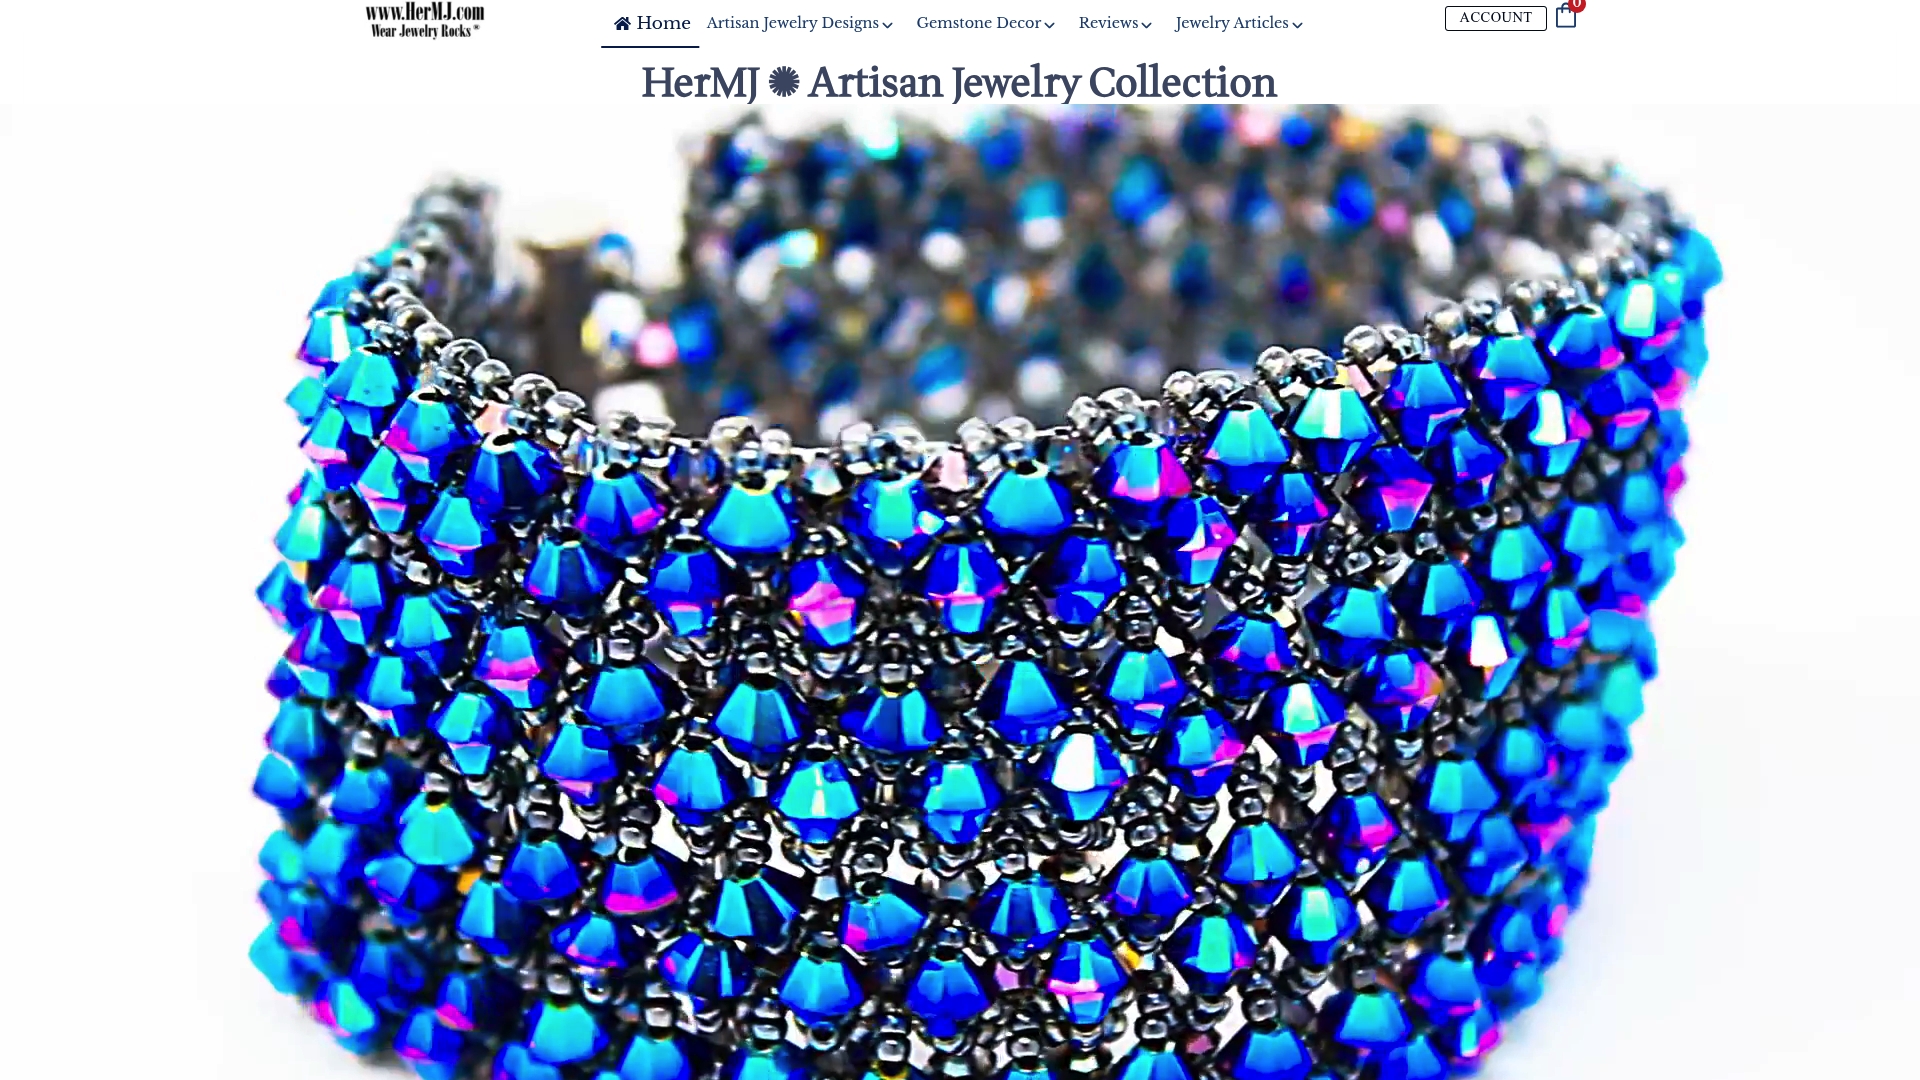
HerMJ’s collection brings that craftsmanship directly to you. The Elegant Freshwater Pearl Necklace showcases the kind of clean drilling, tight knotting, and polished finishing that only purpose-built tools make possible.
For something with a gemstone accent, the Pearl and Aquamarine Necklace pairs genuine pearls with vivid aquamarine in a design that reflects real artisan skill. US orders ship free with no minimum order, and international orders ship free on orders of $150 or more.
FAQ
What tools do artisans use to drill pearls safely?
Artisans use a pearl drilling vise with padded cavities and diamond burs ranging from 150 to 600 grit. Cooling the pearl with water during drilling prevents heat damage to the nacre.
What cord is best for stringing pearl jewelry?
Silk cord is the traditional choice because it’s soft, knots well, and cushions pearls. Nylon cord is a durable alternative for artisans who need greater strength or work in humid conditions.
What is the Beadsmith EZ Knotter used for?
The Beadsmith EZ Knotter places consistent, tight knots between pearls on a strand. It produces professional knotting results without requiring advanced hand-knotting skills.
When should artisans use automated stringing machines?
Automated pearl stringing machines are best suited for large production runs where speed and consistency matter most. Custom or small-batch work benefits more from manual hand tools and tactile control.
How do artisans protect pearl surfaces during finishing?
Artisans use soft polishing cloths, sanding sticks, and micro brushes to smooth settings and gently remove residue. Testing any polishing cloth on the back of a pearl first prevents accidental scratching of the nacre.
Recommended
- Handcrafted Jewelry Making Techniques for DIY Creators
- How to Appreciate Artisan Jewelry Craftsmanship Details