

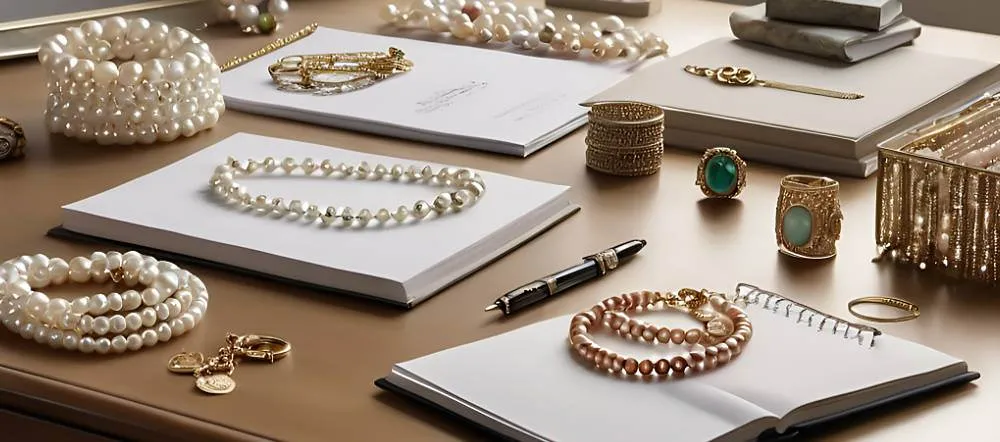

6 Steps to Untangle a Necklace Safely, Plus Pearl and Gem Cautions
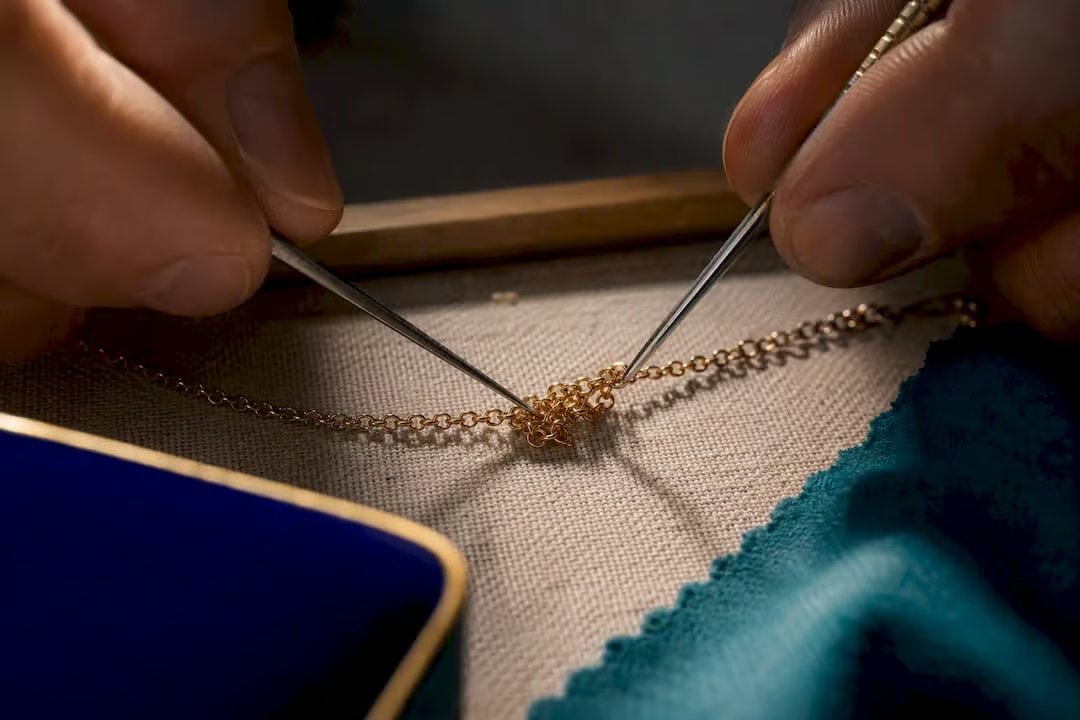
The fastest safe way to untangle a necklace is to unclasp it, lay it flat on a hard surface, find the center of the knot, and loosen it with a fine pin or tweezers before you touch any lubricant.
If the knot proves stubborn and resists, a tiny dab of baby oil or a pinch of baby powder can help, but only on metal chains. Be careful with pearls and some soft gemstones, which need gentler handling. A stubborn knot there may be better addressed with a jeweler’s help than with a pin.
The Edit
- Working from the center of the knot with small tools and gentle wiggling minimizes damage and makes untangling faster.
- Baby oil, baby powder, and proper tools are effective on metal chains, but pearls and soft gemstones require gentle handling and potential jeweler assistance.
- Storing necklaces separately, using soft pouches, and employing extenders can prevent tangles before they occur.
- Avoid forceful pulling or working on bent links; stop and consult a jeweler if the knot doesn’t loosen after several careful attempts.
- Jewelry with design features like knots between pearls should never be treated as normal chains, and proper care preserves their integrity.
Step-by-step methods to free a stuck knot
Most tangles come apart faster than people think…
As long as you work from the middle instead of the ends. Pulling on the clasp only tightens the knot, so resist that temptation before anything trying the following:
- Unclasp the necklace and remove any pendant you can slide off, then spread the chain flat on a table under bright light.
- Look at the knot and decide what you’re dealing with: a simple loop untangles in seconds, while a bird’s-nest tangle needs patience and the steps below.
- Try the dry method first: sprinkle a little baby powder over the knot and gently tease it open with a toothpick or a straight pin.
- If the knot holds, switch to lubrication: dab a tiny amount of baby oil or olive oil onto the metal with a Q-tip, then wash the chain with mild soap afterward, a method Jewelers Mutual recommends for tight knots on metal chains.
- For a truly stubborn knot, use two fine tools such as needles or closed tweezers to gently open a small gap, then separate the sides with tiny wiggling motions rather than a straight pull, a technique demonstrated in Arden Jewelers’ chain-untangling video.
- If the chain feels grimy or sticky, soak it briefly in a saucer of warm, soapy water, then work the loosened knot with your fingers and dry it right away.
Rolling the knot gently between your thumb and forefinger creates small, controlled movements that loosen links without stressing them. The goal at every step is slack. Avoid force. Each tug you avoid is a bent link you won’t have to have fixed later on.
Pro Tip: Work from the center of the knot outward. Starting at either end just cinches the loop tighter, a mistake that turns a two-minute fix into a trip to the jeweler.
Tools and household supplies that actually help
You probably already own most of what you need. The trick is matching the tool to the knot instead of grabbing whatever’s closest.
- Straight pins and sewing needles: ideal for lifting the first loop of a tight knot without scratching the metal.
- Fine-point tweezers: they’ll give you more control than your fingers when pinching and separating tangled links.
- Toothpicks: gentle enough for a first pass on a loose knot before you bring in metal tools.
- Safety pins and paper clips: work as makeshift two-point tools when you need to hold one section steady while you loosen another.
- Q-tips: the right size for applying a small amount of oil exactly where it’s needed, without spreading it across the whole chain.
- Baby oil or olive oil: you only need a drop to loosen a metal. With equal luck, the maneuver can result in a quick victory, but wash it off with mild soap right after, per Jewelers Mutual’s guidance.
- Baby powder: a good alternative, and a dry solution that works well on finer chains where oil feels too heavy.
- Unscented dish soap: good for soaking chains with built-up grime before you start untangling.
Skip anything abrasive, and never reach for harsh household chemicals. They can dull the metal’s finish or eat away at plating faster than a knot ever would.
Special care for pearls and delicate gemstone necklaces
Here’s something a lot of people don’t realize: many pearl necklaces are knotted between each pearl on purpose, to keep them from rubbing together and to prevent the whole strand from scattering if the silk breaks.
That’s a design feature. Not a tangle. And it’s worth knowing the difference before you go after that otherwise fine necklace with a needle. GIA notes that pearl strands should never be treated like a metal chain.
- Never work a pin or needle directly against a pearl’s surface. The nacre scratches easily. And permanently.
- Skip oil and strong cleaners entirely on pearls. Prolonged moisture or chemicals can weaken the silk cord over time.
- If a pearl strand is genuinely tangled rather than knotted by design, try light wiping and gentle hand manipulation first.
- When the knot involves the string itself, a jeweler can restrand the piece properly instead of risking a break.
I’ve put together a fuller guide on how to clean pearls safely if you want the full aftercare picture beyond just untangling.
Storage habits that stop tangles before they start
The easiest tangle to fix is the one that never happens. A few small habits make a real difference here.
- Store necklaces separately in a compartmented tray, or hang them individually on hooks so chains never touch.
- Choose jewelry boxes with velvet interiors, or if you use a wooden storage container, place your pieces in soft pouches, especially pearls and finer chains.
- When layering multiple necklaces, vary the lengths and weights, and consider a layering clasp or extender to join the pieces at one end so they move as a unit rather than twisting independently, as detailed in Jewelers Mutual’s layering guide.
- Traveling? Thread each chain through a drinking straw before packing, a trick GIA recommends for keeping necklaces tangle-free in transit.
- Fasten the clasp before putting a necklace away, even in a drawer, and never stuff several chains into one pouch together.
Pro Tip: If you love wearing multiple necklaces at once, a simple extender or shortener does more to prevent tangling than any storage trick. Keeping the pieces joined at one end prevents them from twisting around each other as you move. For more on this, see our guide to layering necklaces with pearls and gems.
When to stop and take it to a jeweler
Some knots aren’t worth fighting. Knowing when to put the tools down saves the piece.
- Stop if you notice bent or kinked links, since forcing a stubborn knot will only make the damage more difficult to reverse (if at all).
- Stop if a pearl or gemstone is trapped in the knot or shows any scratches, as further handling could damage the stone.
A jeweler can reshape bent links, re-string pearls, and clean the piece professionally during the same visit. Bring the necklace in a small pouch, mention the metal type and any gemstones, and ask for a time and cost estimate before you leave it.
A jeweler’s-eye view on quick fixes versus real damage
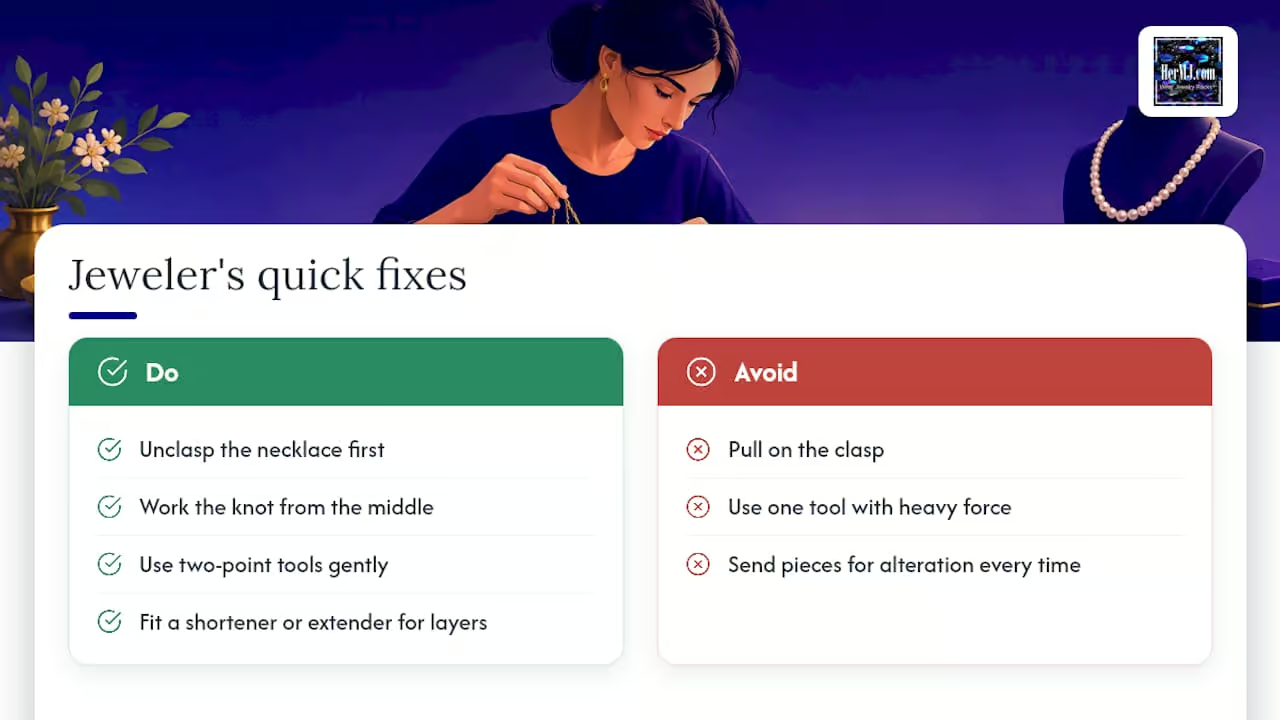
I’ve watched plenty of people turn a thirty-second fix into a bent chain simply by pulling on the clasp instead of working the center.
My own rule is simple: unclasp first, always work the middle of the knot, and use two-point tools with a light hand rather than one tool with a heavy one.
Not every tangle needs troubleshooting, either. If you’re layering two or three necklaces and they keep twisting around each other, a shortener or extender solves that faster than any untangling technique ever will, and it’s far gentler than sending a piece in for alteration every time you change how you wear it.
— Veronique
Handcrafted necklaces built with care in mind
Once you’ve freed a favorite piece from a knot, it’s worth thinking about what you reach for next. Some handcrafted necklaces made from pearls, gemstones, and crystals are designed with wearability and care in mind from the start.
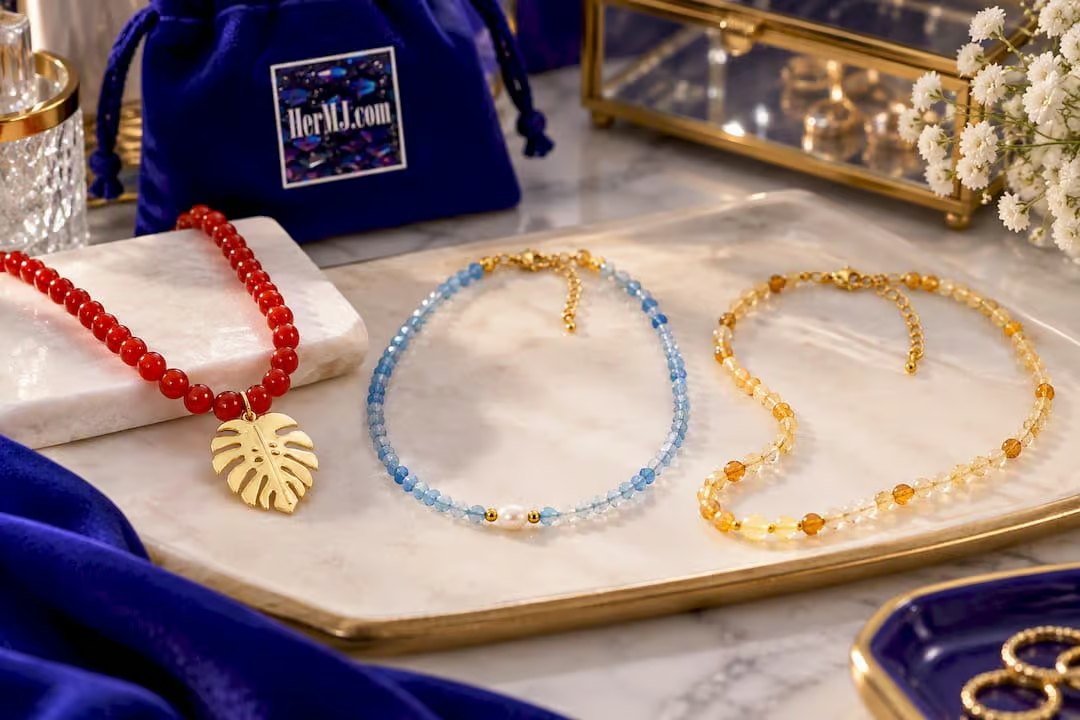
A few pieces to look at:
- The Carnelian Necklace pairs a warm, grounding stone with a chain that layers easily.
- The Pearl And Aquamarine Necklace combines the softness of pearls with a cool gemstone accent.
- The Quartz Crystal Necklace brings a clean, everyday piece that holds up well to daily wear.
Browse the full Necklaces collection to find a piece with care notes built right in from the day it arrives.
Sources
- How to Untangle a Necklace Chain: 5 Easy Tips | Jewelers Mutual
- Five tips to organize your jewelry | GIA blog
FAQ
How do you get a tight knot out of a necklace?
Lay the chain flat, find the knot’s center, and loosen it with a fine pin or tweezers using small wiggling motions rather than pulling. If it’s still tight, a tiny dab of baby oil applied with a Q-tip helps loosen metal chains, according to Jewelers Mutual.
Do jewelers untangle necklaces?
Yes, jewelers regularly untangle necklaces and have specialized tools for knots that resist home methods. They can also reshape bent links or restrand pearls if the tangle has caused any damage.
How do you detangle a knotted necklace?
Start dry with baby powder and a toothpick, then move to a tiny amount of oil on metal chains only if the knot holds. Work from the center outward and stop if you feel resistance or notice bent links.
Can hot water untangle a necklace?
Warm, not hot, soapy water helps loosen grime and residue that make a knot stickier, but the soak alone rarely undoes the knot itself. You’ll still need to gently work the loosened knot by hand afterward, and pearls should never be soaked this way.
Recommended
- Wipe Pearls After Every Wear: How to Clean Pearls Safely
- How to Fix Yellowed Pearls: Safe Home Methods That Work
- How to Store Pearls and Keep Them Lustrous
- Avoid Losing Pearls: Match Pearl Necklace Clasps to Strand Weight